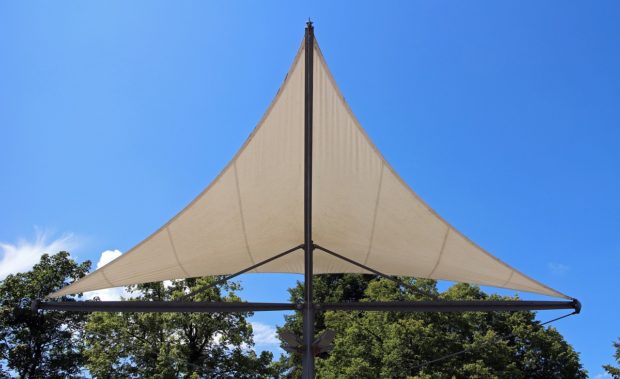
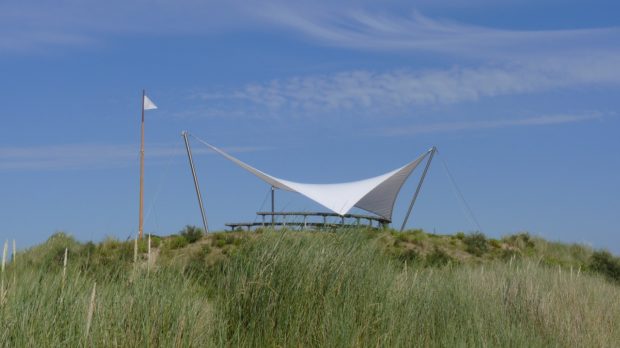
Weather can be harsh and uncontrollable at times. In this case, there are those sunny days that force you to stay outside due to the high room temperatures. Outdoor shade sails are the best option for creating shade in an efficient and cost effective manner. Here you can relax freely without minding the harsh rays of the sun. These shade sails are made of a flexible cloth attached to anchors that support them. They also come in different sizes depending on your choice. Shade sails are very cheap to acquire and easy to install in your homestead as long as you have a suitable location. Here is how to install outdoor shade sails:
1) Measure the Poles
Poles are essential when making shade sails. They help in support of the shade. Here, you have to come up with realistic measures so that the shade sail can fit in well. You are also supposed to consider the length at which you will put in the hole. This way, you will not end up losing the actual measurements of the pole. To come up with the best shade sails you need to have the size of the pole, the distance between two poles and the depth of the hole, you have dug. These measurements are essential and should be accurate to avoid the wrong positioning of the shade sails.
2) Secure the Poles
This is a crucial step to take since it determines how strong your poles will be. Here you protect your shade sail from strong wind or any form of accident that may occur. You can use different methods to attain this. Many people use concrete from a strong base in the ground. This method is recommended because your poles will remain in the ground well attached to the soil. When acquiring concrete, try to take the best quality that will last long. You can also use suspenders to help support your post from falling or bending.
3) Connect Attachment Points
Connecting the fixing points requires strategy so that the shade sail can be perfectly fixed. You require having the correct measurements to avoid inconvenience. This should be done to all poles that have been fixed. You also need to drill perfect holes to the poles so that they can correspond with the screws. After you have done that, you can fix the hooks tightly to prevent them from falling off. This helps your shade sail to have a good shape so that it can trap enough shade.
4) Tension the Shade Sail
This step helps a lot in giving your shade a perfect shape that is positioned correctly. You are required to fix the cloth with points on the poles. Once they are fixed, you can use a tensioning tool so that you can level where the shade lays. Here, you are supposed to stretch out the cloth until the wrinkles on it have disappeared. This makes it look more professional and smart. When the depression in the center has fully disappeared, you can now stop stretching it out. This may cause the poles to bend if at all, they are not strong enough.
The post How to Install Outdoor Shade Sails appeared first on YourAmazingPlaces.com.


No comments:
Post a Comment