All of us have an inherent desire to leave a certain mark in this world, proof that we lived. Some think these marks must be big and life changes, while others look at finer things in life with less glory. Even in the earliest days of humanity, our ancestors wanted to leave some traces of their existence through primitive art. Art still remains one of the best ways to show off your creativity and show something unique to this world.
In this day and age, it has become a lot easier to have some fun with art and explore the boundaries of art. With epoxy resin, you can now express your artistic ideals on a whole new level and on a much bigger scale. These resins are readily available and it is pretty easy to learn the basics of epoxy resin art. Epoxy resin is especially popular because of the huge scale you can play with it, including making wall art decorations.
The initial idea
It is important to balance your initial idea with what is possible to do in practice. Before making a certain piece of art, you need to know how much resin you will need, especially for walls. Luckily, with this helpful epoxy coverage calculator, you can calculate the amount you’ll need in no time. It is better to calculate now than to see that you are missing resin while you are in the process of making art.

While thinking about your idea, you need to think about it in three dimensions, not just two. This is a very interesting gimmick that can bring more layers to your art and make your creativity shine. This also means you need to be aware of thickness regarding the size, which is important for wall art to remain stable over the years to come.
Idea in practice
What makes epoxy resin art different from other arts is that you need to act quickly while making it. You may think about a lot of details, but you need to think about the time you have before the resin starts hardening. Once you mix the monomer solution with the reactive crosslinker, the time starts ticking and you need to act.
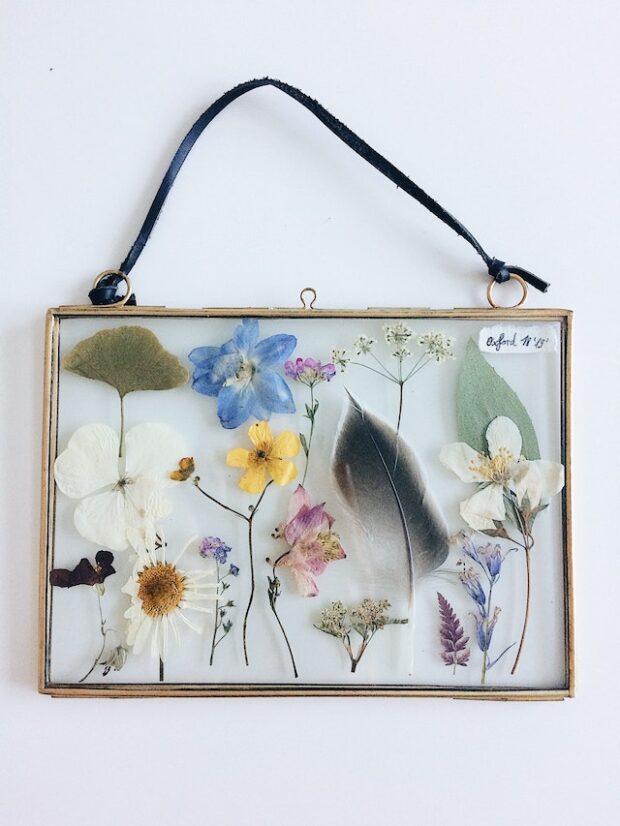
Or maybe you want the resin to harden and make something over it, which is a technique you can also use. These are just some things you need to think about when thinking about epoxy resin wall art. You can have a great idea, but you need to think about the practical part of making this art into a reality.
Safety
Before you start playing with these resins, you need to take safety precautions. All of the ingredients are quite toxic before they harden and you need gloves to handle them. Even when epoxy hardens, that does not mean you should consume it or touch it too much. Most resins have bisphenol A in it, which is especially problematic if men touch them without gloves or inhale them.
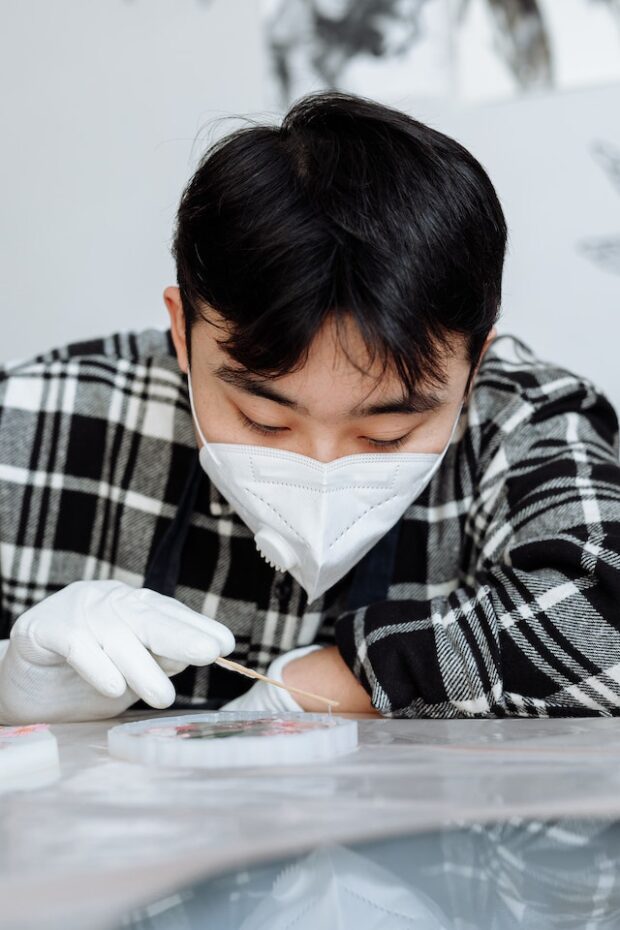
The crosslinker, epichlorohydrin, is also quite toxic and you do not want to handle it with zero care. On a large scale, you are probably more likely to get in contact with these solutions and pigments. This is why you want to be extra careful when making big wall art and wear gloves and protective layers. Other than that, epoxy resins are quite safe to deal with if you take basic safety measures.
Prep work
Before you start making epoxy wall art, you need to have a plan in your mind. Depending on the scale, you might want someone to help you with this project. This can be very fun when you are making epoxy resin art with someone else. If you are doing this as a family project with the kids, you need to make sure they understand the safety measures.
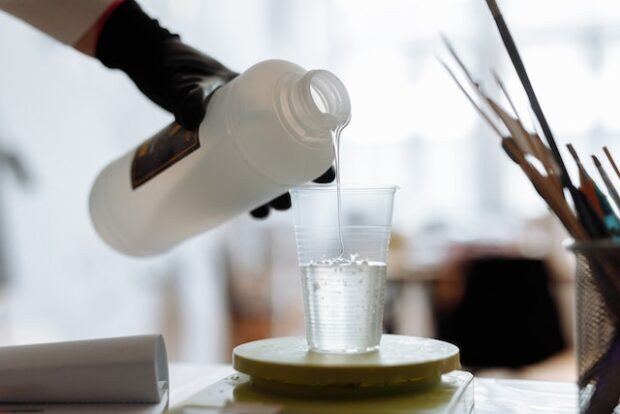
Prep work includes having all mixtures and pigments available to take them in the moment of need. If you are disorganized, you will lose a lot of time while the resin starts hardening. Prep work also means getting ready to put up the art on a wall. If you plan on gluing it, you need to make sure the glue can stick to the smooth surface of epoxy resins.
Patience and practice
If you are just starting out with epoxy resin, you may need some time to get used to how this works. Figuring out hardening time and diffusion of color in solutions of resin only comes with experience. This is why you will need some patience and some practice before you can start making any big and very detailed projects with resin.
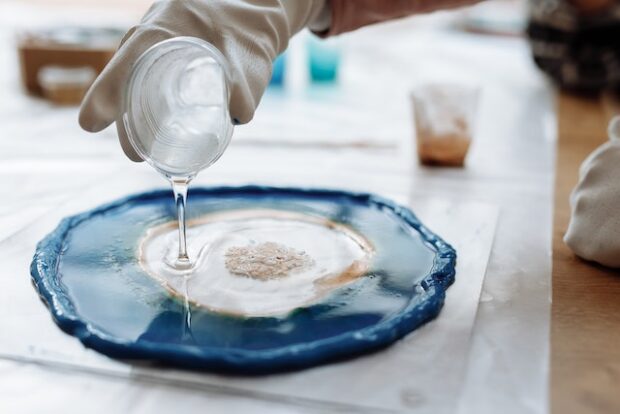
You can’t make the resin harden any faster and when it is time to settle down, you let go of it. Even if it starts hardening even after 3 hours, it will take 24 hours at least for the whole thing to harden. Until that time, it is better to leave it somewhere dark under constant temperature and covered with a box.
Cleaning
After you made some epoxy resin art, you will need to do some cleaning, as with any art project. If there were any spills, it is better to let the solution harden before cleaning. If the solutions are not mixed and you spilled them, wipe them with disposable wipes. Do not throw anything into the sink, throw it into the garbage bin. It is better to have some cover over your workstation so you can throw it if it gets covered with everything.
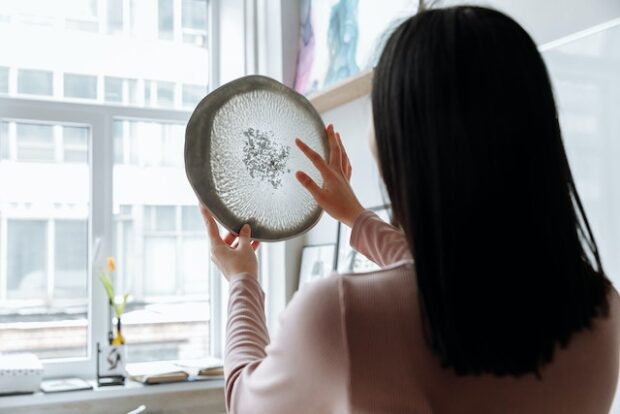
These are just some things you need to think about when doing epoxy resin wall art. This is a really beautiful hobby that really tests your imagination and creativity to the max. There is only so much you can read about, but most of it you will learn as you practice and get familiar with resin.
It is important to do this prep work and use the sources on the internet before you start mixing solutions. Even though all great art is usually spontaneous, with resin, you need to think a bit before you start creating it. Once you get the feeling for these solutions and the time it takes, then you should start being spontaneous with your art.
The post Epoxy Resin Wall Art: A Stunning and Simple DIY Project appeared first on YourAmazingPlaces.com.


No comments:
Post a Comment