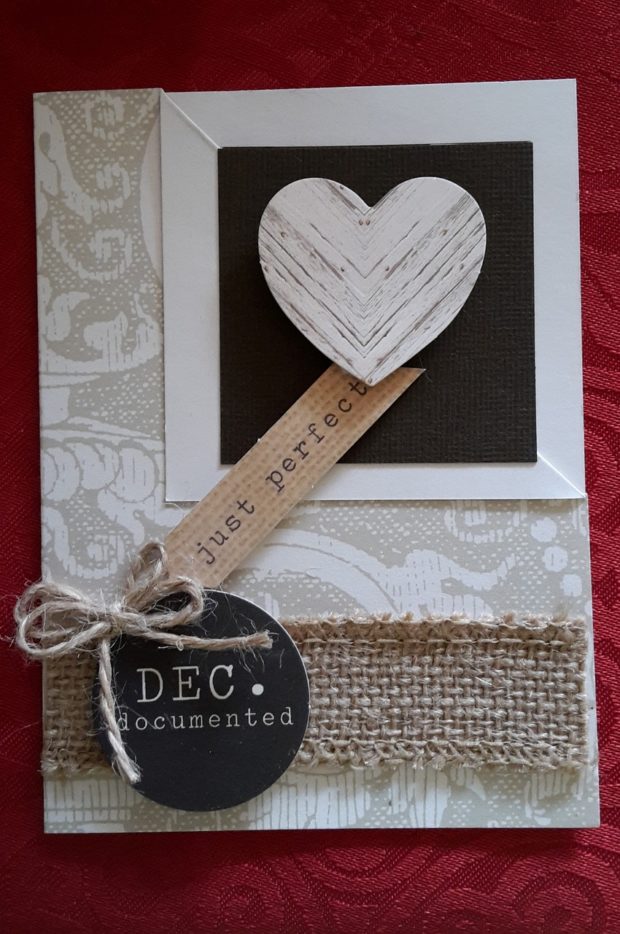
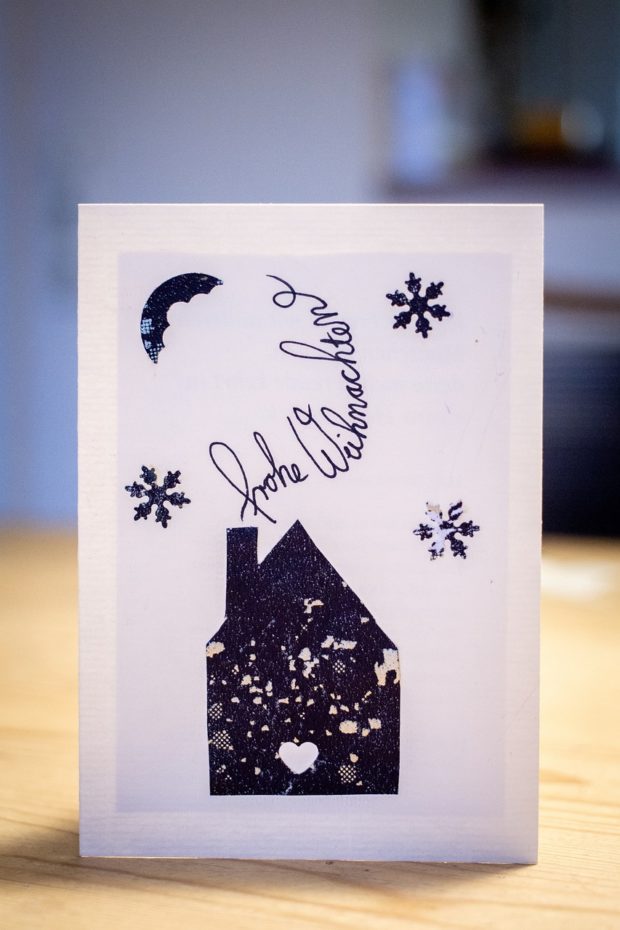
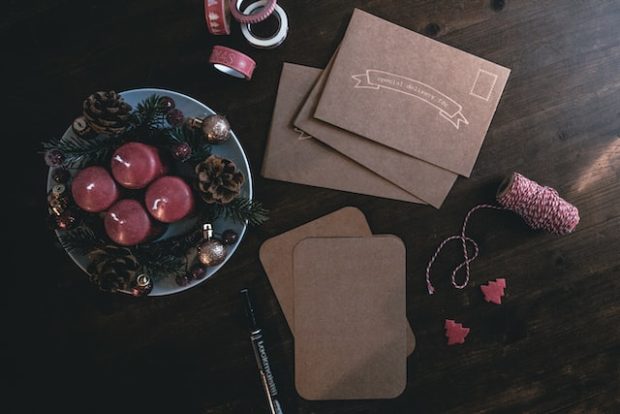
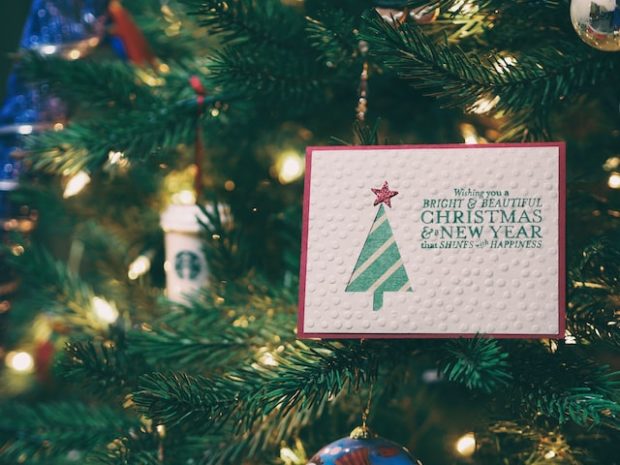
If this year you want to make unique Christmas cards, we will show you some excellent options and ideas to implement. Although there is something for everyone on the internet, we can’t stop talking about Boomf, a platform that offers you these Christmas cards in different designs and models.
Generally, Christmas cards are made with a purpose. It is none other than to share joy, a message of thanks or to invite other people to celebrate. Here are some great tips on how to make your own Christmas cards.
What do you need to make Christmas cards at home?
Christmas cards usually accompany a gift. However, they are also used to make special invitations to Christmas celebrations or simply to say thank you. Let’s see some ideas that will help you if you want to make your own Christmas cards at home:
Find Christmas card materials
Christmas cards are usually made from paper or cardboard. This way you can mold their design – usually – in a square shape. However, this time you can have any pattern you want: circular, rectangular, triangular.

Another way is with the face of Santa or a reindeer. Also, with Christmas designs such as cookies, trees, Christmas houses, nativity scenes, among others. You may want to make sure you have colored paper, glue, scissors, markers or paint.
Look in that box where you keep everything you use as a replacement for various options such as buttons, ribbons, bows, strings, hooks and more. Each item will help you create your own Christmas cards.
Think of the design you want to make
The design will depend a lot on your desires. Normally, Christmas cards are designed with the purpose you want them to serve in mind. For example, if it is an invitation, it should be associated with it, such as a Christmas table, a typical dish or a festive Christmas hat.

Once you choose the design, draw the silhouette of the Christmas card and cut it out. Then use that piece to create various options. Remember, Christmas cards should have two folding sides.
Colors to use
Christmas colors revolve around red, green and white. However, you can go with the trend of the year and add shades such as blue, orange, purple or whatever you please. It is essential that the original Christmas details keep their style intact. This way your card will scream that is is a Christmas card.

Step by step for making tree Christmas cards
Do you want to make Christmas tree Christmas cards? Although it is very specific technique, it will apply for any design you have in mind. Here is the step by step of this beautiful creation:
- You need a piece of cardboard or paper in a rectangular shape.
- On a flat surface, draw on the rectangular cardboard or paper a Christmas tree shape. It should be two trees, no ornaments, just the pine tree with its branches. You can use a template from the internet.
- Once you have the pieces cut out, you can paint them green. Add decorative elements such as ribbons and Christmas ornaments. Also, a well-lit star at the top of the tree.
- Dip the trees in a mixture of food coloring and water. Take it out and let it dry.
- You can do step 4 several times with different colors.
- Make paper balls and paint them, they will be the ornaments of the tree.
- The trunk will be made with a toilet paper tube. Cut it to the exact size of the base of the tree. Paint it dark brown.
- Glue it all together and you will have your Christmas cards in the shape of a Christmas tree.

When the holiday season is just around the corner, things start to get hectic. So if you don’t have enough time to sit down and DIY your own Christmas cards, you can always turn to online shops like Boomf that offer cool designs, unusual confetti upgrades, and an easy-to-use online personalisation tool that allows you to add that special personal touch to your Christmas cards in just a few clicks.
The post How to make beautiful Christmas cards at home? appeared first on YourAmazingPlaces.com.


No comments:
Post a Comment