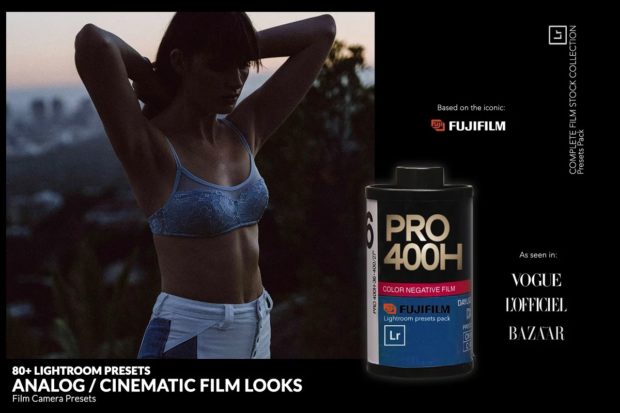
Presets can also save you money as you do not have to buy several actions to achieve the other effects. You can also find free Adobe Lightroom presets online or pay for other premium presets.
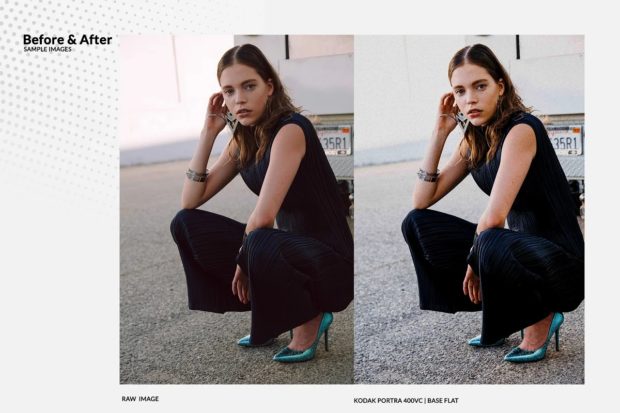
They can be used in Post Production of Digital Photos to Save lots of time and effort. They are Filters for your images, these presets will change the mood and look of your photos while giving it a dramatic view or vintage one by changing the clarity and other aspects like color toning and more.
How Presets For Lightroom Work
If you are a beginner Photographer, you should know that Lightroom has different modules like Library (for organizing your photos), Develop (for editing your photos), and a few more like Map, Book, Slideshow which you can find here . Presets are used in the Develop module.
If you’ve already worked with Lightroom before, you know that there are several panels inside develop mode containing different tools to edit your image, these include: Basic panel Tone Curves & Split Toning HSL / Color / B & W Panel Detail Panel Lens Correction Panel Effects Panel Camera Calibration Panel (To be covered in another article)

Creative Market
How To Use Free Lightroom Presets?
We cannot edit every image the same way as we need to make some changes depending on the type of photo. When it comes to editing, there are many ways you can edit a photo for instance by using the basic development settings or tone curve, etc. But if you have tried working with different panels, sometimes your results might not be what you expected.
You can save your favorite settings from any of these panels into a preset and apply that preset on any of the images and it will give the same effect as you had given on that specific photo.
Visit Creative Market for a bunch of lightroom presets for your photo editing needs. Be sure to check it out!

How To Add Presets To Lightroom?
Presets can be created from inside any of these panels depending on what settings you want to store in the preset. Once you have made changes to your preference, look for a small + sign at the bottom right of the panel, click on it and choose to create a preset, this will save those settings as a preset.
There are several other ways to do this as well, for instance, you can open any image which has some effects applied from develop mode and go to the basic panel then right-click on any setting(for eg: exposure) and choose copy settings, this will copy all settings you have made in the basic panel.
Now open any other image inside develop mode and go to the basic panel again, now right-click anywhere there is no setting(for eg: black sliders), choose to paste settings, this will apply all the copied settings on that photo.
How To Use Presets In Lightroom?
If you’ve edited several images and made some changes to the basic settings, which you later realized that it affected a few other photos. Using presets can save your time as you don’t have to make those changes, again and again, all you need is to apply your preset on the image and edit the image as you like it.

Presets may not always work as they are meant to be, if you have tried several presets from Adobe’s official website, chances are that the results will either give your photos a faded look or they might increase the exposure and brightness which will result in an overexposed image. For this purpose, We need to edit a few aspects of presets before we apply them.
How To Make Best Lightroom Presets?
Develop presets are the ones we use after editing our photos, it includes panel settings like exposure, color, etc which you choose from different panels in develop mode. You can edit these presets or save them as they are for future use. To learn about different panels and tools which you have in develop mode, You can view the above article.
You can edit various aspects of these presets, for instance, you can increase the exposure in your preset but you cannot save it if it’s at 100%, same goes with colors and many other settings.
Before we start creating any preset, let us consider what type of photos we are editing or applying our preset on. For this purpose, We have split our articles into different sections and we will cover them one by one to make it easier.

Creative Market
Conclusion
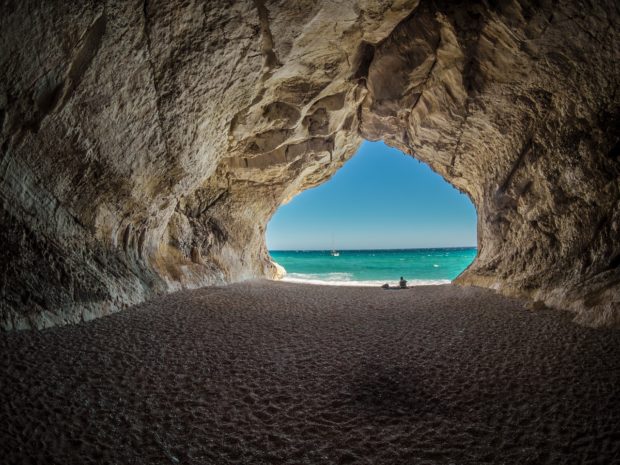
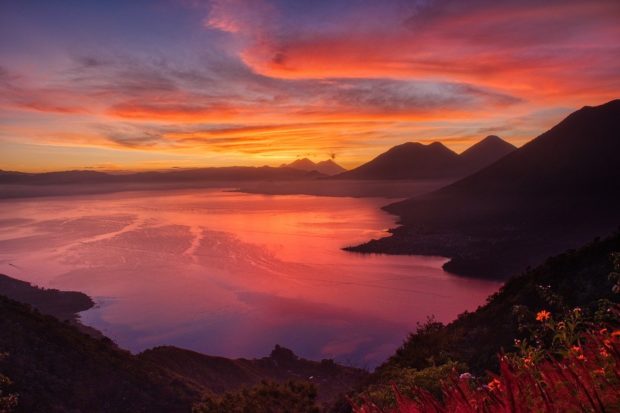
The best way to make your travel photos stand out is by applying a preset. There are many different presets that you can choose from, but which one should you use?
The first step is to download a few presets that seem interesting or appealing to your needs. The second step is to open up the photo in Adobe Lightroom and then go through each of them until you decide on one that fits with what you’re looking for. Finally, once you have chosen a filter, export the image as usual so it’s ready to be shared!
The post Finding The Right Effect For Your Travel Photos appeared first on YourAmazingPlaces.com.


No comments:
Post a Comment